Monday, January 28, 2013

Overnight/ Refrigerator Oats

As a kid I can remember eating those packets of Quaker Instant Oatmeal almost every morning.  I loved all the flavor combinations!  I feel so lucky that my kids love oatmeal as much as I did!  Although I don't buy those instant packets; I usually buy a bag of gluten free rolled oats from Trader Joe's.  Lately I've seen recipes for overnight oats everywhere and have been wanting to try it for a long time. 
Yesterday when I went for my morning run the kids and husband were still asleep.  I placed a pot of oatmeal on the stove with water and a pinch of sea salt so Pete could just turn it on when they got up.  I arrived home after my run to find the pot of oatmeal untouched.  I realized these soggy oats were halfway to becoming overnight oats! (It's not necessary to soak the oats ahead of time.  I just figured they had a head start.)


The kids ended up eating cereal for breakfast. =/  And I decided to turn these oats into refrigerator oats while simultaneously making my own breakfast.
Here are the ingredients I had on hand that I thought would work.

And here are my breakfast ingredients!
I think you can add the add-ins when you're ready to eat, but I just added everything in right away.
Here are the basic ingredients I used in both jars (I didn't measure anything!):

Oatmeal - 1/2 cup each
Almond milk (I just covered the oats)
Greek yogurt (I used Chobani plain low-fat) - A heaping spoonful
Chia seeds


Add-ins:
1)Spoonful of PB, 1/2 a banana, a little honey
2)Frozen Raspberries, a little Agave


Just stir it together, seal the jar, and pop it in the fridge.  It should be ready in a few hours, but I'm guessing the longer you leave it the more liquid gets absorbed into the oatmeal so overnight would be best.  My kids ended up eating it as an afternoon snack!


My eggs and turkey bacon were ready....
...just as I was putting these babies in the fridge!

 
These are such a simple way to have a healthy breakfast ready for you in the morning. Maybe next week I'll leave these for the kids when I go running Sunday morning. :) You could try so many different flavor/ add-in combinations... Get creative and work with whatever ingredients you have on hand!

Tuesday, January 22, 2013

Bows, Bows, Bows!

Saturday morning I pinned this tutorial on making bows that seemed so easy!  I used some fabric I had on hand to make these cute little bows right away!


When I posted this pic on Instagram and started showing them to my friends people started putting in requests for them!  I was having so much fun making them anyway I thought, "why not?"

(See the pink fabric in the background?  Before I started making bows I grabbed a piece of wood my husband had in the garage and made this nifty little ironing surface. 
 
I covered the surface with batting I had in my crafting supplies.  My daughter recently moved to a twin sized bed so I used her old toddler sized bed sheet and cut it to fit.  Then I just stapled it down to the board with the batting.)

Here's my version of the bow tutorial.
Supplies:
- Fabric
- Scissors
- Needle and thread (and Heat n Bond if desired)
- Iron and board
- Hair clip and/ or Velcro
- Fabric glue (optional)

I had this Heat n Bond product on hand so I decided to try it using this instead of sewing ('cause I'm lazy like that.)
 

First cut a piece of fabric for the bow, reserving a small strip for the center part.
Fold both sides in lengthwise, and press it with the iron.
Fold the other 2 sides in so they overlap in the middle, and press it again.
 
Now sew it together gathering it in the middle.  (I am so lazy about sewing. I just gathered it and stitched it through a couple times then wrapped the remaining thread around the middle and tied it off.
 
Next use the little piece of fabric to make the middle part.  I used the Heat n' Bond for this part to keep the seems together and make it a little more sturdy, but it's not necessary. 
 
Then I used a little piece of Heat n Bond to attach the middle section.
 
I purposely didn't secure the middle part to the bow so that I could attach a clip or strap.  Since I couldn't find bow tie clips anywhere I decided to make a little Velcro strap for the bow ties. Using basically the same "technique" I used to make the middle section I made a strap long enough to go around the neck and just laced it through the back.  (I haven't added the Velcro to then ends of the strap yet because I still need to buy it.)


Here are the bow ties I've done so far:
 
 
That bottom one I did using 2 layers.
 
Just make the fabric squares in 2 sizes
 
When you sew the center make sure to get all the layers!


For the girl bows I just attached an alligator clip on the back instead of a strap.  I bought these a while ago at CVS; they also had different options at the fabric store.  You can add a dab of fabric glue to help it stay in place.


So simple, right?  I was amazed that I was able to make something so cute!


Weekly Workout Schedule

I'm finishing up the cleanse portion of my 24-day challenge and feeling great!
Back in October I decided to train for a Thanksgiving Day 5k.  I used to run cross country in high school until I got a stress fracture in my shin and just never got back into it.  Ten years ago I ran my last race, a 4 mile run, with my dad.  So when my dad said he'd do the Turkey Trot with me I was thrilled!  I joined a running group at the YMCA and trained with them for a few weeks before the run.  My goal was to run a 10 min mile, so I was so proud of myself when I finished with a 9:42 pace.  But then I got lazy again, and stopped running with my group.  Sadly, I stopped going to the gym all together around the holidays.  Today I had just enough motivation to get my butt out of bed and to my favorite circuit training class.  My running group is doing the Pat Tillman 408K (5 miles) on March 10, and I'm determined to do it.

Here is my workout schedule for the next 6 weeks... I know my friends will keep my accountable ;)

Sunday - Run 8 am with Y group
Monday - Rest Day or "Active Recovery" (light exercise like Yoga, walking etc.)
Tuesday - Circuit Training class
Wednesday - Cardio/ Run 45 min
Thursday - Circuit Training class
Friday - Cardio/ Run 45 min
Saturday - Rest Day or AR

Sunday Running Plan:
1/27 - 2 miles
2/3, 2/10 - 3 miles
2/17, 2/24 - 4 miles
3/3 - 5 miles
3/10 - Race Day!

I like to have a backup plan in case I can't make it to the gym.  I use the Power 90 videos at home.  Instead of circuit training I would do the "Sculpt/ Circuit" video or instead of the treadmill I would do the "Sweat/ Cardio" video.  I also have a few workouts on my Pinterest board I can do if I get bored with my routine.


Side note about the YMCA: My friend told me about the Y program about a year ago, and I was so excited about joining.  It's no Decathlon Club, but it's cheap! And it has all the necessary equipment and programs.  I'm a stay at home mom of 2 kids who aren't in school.  So when I heard that for $54/ month I could put my kids in the childcare up to 2 hours/ day I knew I had to try it out.  The childcare staff is great, and I don't ever feel bad about dropping my kids off.  In fact, they love it!  On top of that, there are so many things for the kids to do as well.  My daughter has tried out some ballet classes and preschool type classes included in the membership.  I've also done some gym classes with my little one, and I took the kids swimming several times last summer. Anyway, I just have to rave about it to all my mom friends who could use a little time to themselves or need a place to drop off the kids and workout without there being an extra childcare charge every time.  I couldn't be happier with my membership. 
I joined the running club just before they raised the price.  I paid $25 for a year, but I believe it's $50 now.  We meet Sunday mornings at 8 to run.

Here's to getting fit and accomplishing goals!

Thursday, January 17, 2013

What's Cooking: Chicken Breast, Black Beans, and Oranges

I buy a  large pack of boneless skinless chicken breast just about every week so we always have some in the fridge or freezer.  What I should do when I buy a large pack of chicken is portion it out and freeze it in bags so I don't have to freeze and thaw the whole pack together.  But since I didn't do that I had to thaw the whole pack and try to use it up within a couple days. Here's what I did with the 6 chicken breast I pulled out of the freezer 2 days ago.
I cooked one on our little Forman grill with the garlic salt and lemon pepper and packed it for my husband's lunch.
Gotta love this nifty little gadget.  It cooks a chicken breast in about 5 mins!

I boiled 3 of them until cooked through then put them in my KitchenAid mixer to shred (easiest way to shred chicken!) I used 2 cups of it for white chicken chili, put the rest in a freezer bag, and popped it in the freezer.
I already had the crock pot out from the black beans I made yesterday so I decided to use it for the remaining chicken.  I just placed the chicken in there with some bbq sauce we had in the fridge.  You can easily make your own sauce using tomato sauce or ketchup, brown sugar, soy sauce, Worcestershire, cider vinegar, and garlic powder.  I just happened to have half a bottle of Kinder's BBQ in the fridge so I decided to use that up.  After about 3 hours (on high) you'll have bbq chicken! You can take it out and shred it then mix it back in with the sauce. I just took a knife and fork to it in the crock pot and roughly shredded it.


I decided to buy dry black beans instead of canned this week.  I paid $1.29 for 1lb.  Since I'm on the Advocare 24-day Challenge I needed to cook these for the carb portion of my meals.  Yesterday morning I put them in the crockpot on high for 4 hours with 6 cups of water, and I had perfectly cooked black beans! I used the instructions I found here.  I portioned them out into these awesome containers my little sis got my for Christmas and stuck them in the fridge.  You can also freeze them if you're not going to use them right away. (I'm sold on buying dry instead of canned considering how easy it is!)


This is my orange tree... Brimming with oranges. 


Since my sister-in-law and I make jam, it was obvious we had to make marmalade. While I can't give you our recipe secrets I will refer you to my favorite resource for canning... Pick Your Own. (I also learned how to make pumpkin pie from scratch on this site!)  We used lemons from my grandma's tree too... So blessed to have homegrown fruits available!


Sunday, January 13, 2013

Heart Elbow Patches - Two Ways

This weekend we had three birthday parties to attend!  My adorable niece, Mary celebrated her first birthday Friday night.  Saturday while my husband went to the 49ers game, the kids and I went to two birthday parties without any naps... Fun (exhausting) times! Here are my two cuties at a cowboy and Indian themed party:
 
Anyway I finally had time today after church to work on a craft I've been wanting to share. 
 
When my friend, Danielle showed me these cute elbow patches I knew this was a craft I wanted to try.  A couple weeks ago I bought some sweaters at the Goodwill to try it on.  My Goodwill store buys boxes that Target can't sell so I got several brand new Target sweaters for $5.99 each!  I followed the instructions in the link above and stabbed away until the wool roving was formed into these cute elbow patches. 
 
 I felt like the patches weren't hooked on very well to the sweater so I hand-stitched them on with matching thread.  The patches looked really cute, but here's what I hated about this craft:
1) I stabbed my finger twice until it was bruised and bloody.
2) It took much longer than I expected... maybe an hour of stabbing.
3) You're not supposed to machine wash and dry these because they're wool.
4) The second time I wore the sweater the patch started coming apart. 
I ended up taking them out with a seam ripper and decided to try something simpler. (My two friends who tried this had more success than I did, so maybe I was just doing something wrong.)


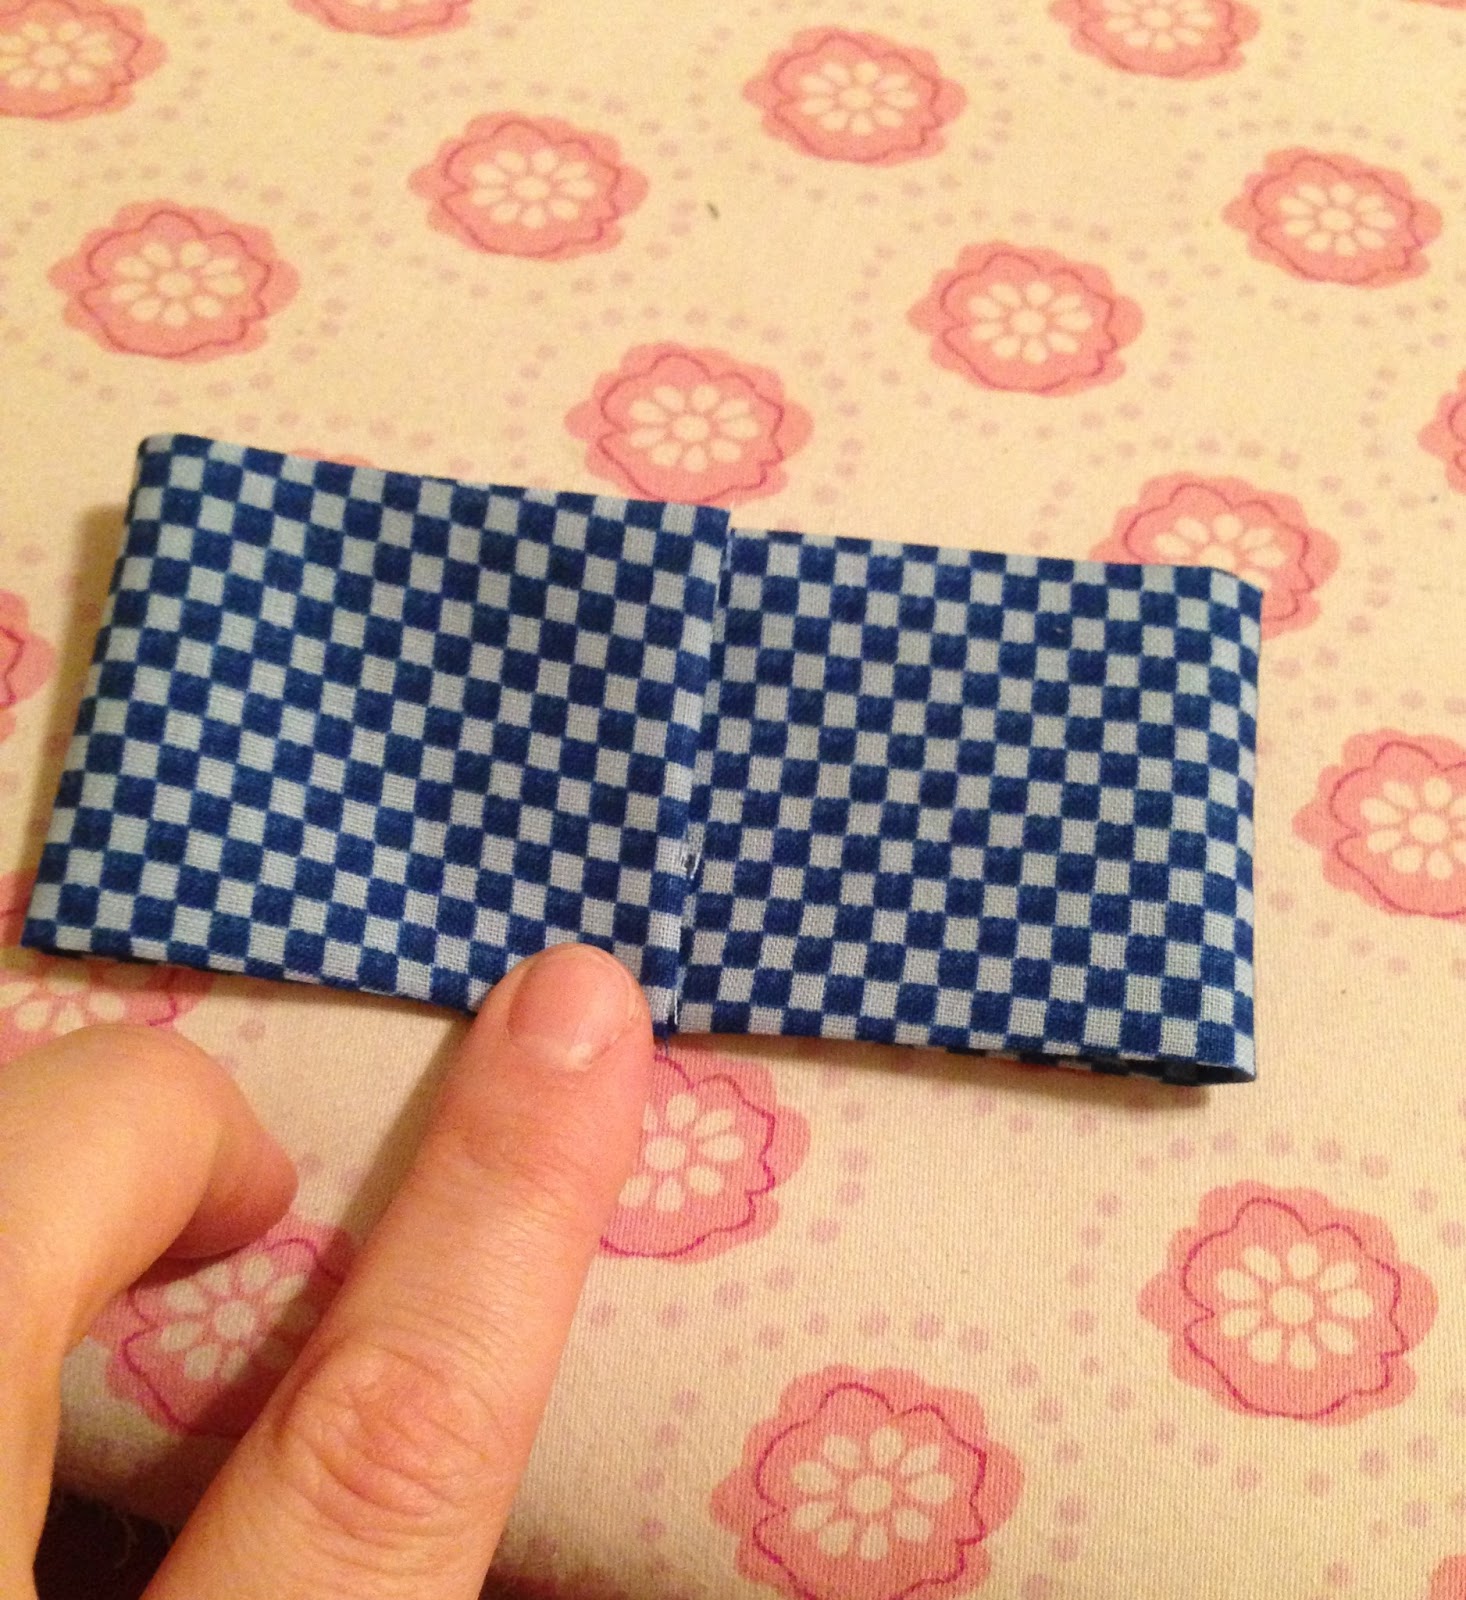
I took one of my daughter's cute Target sweaters and decided to add some pink elbow patches to it.  I had lent out my heart shaped cookie cutter so I just hand drew hearts with chalk on a pink piece of felt.
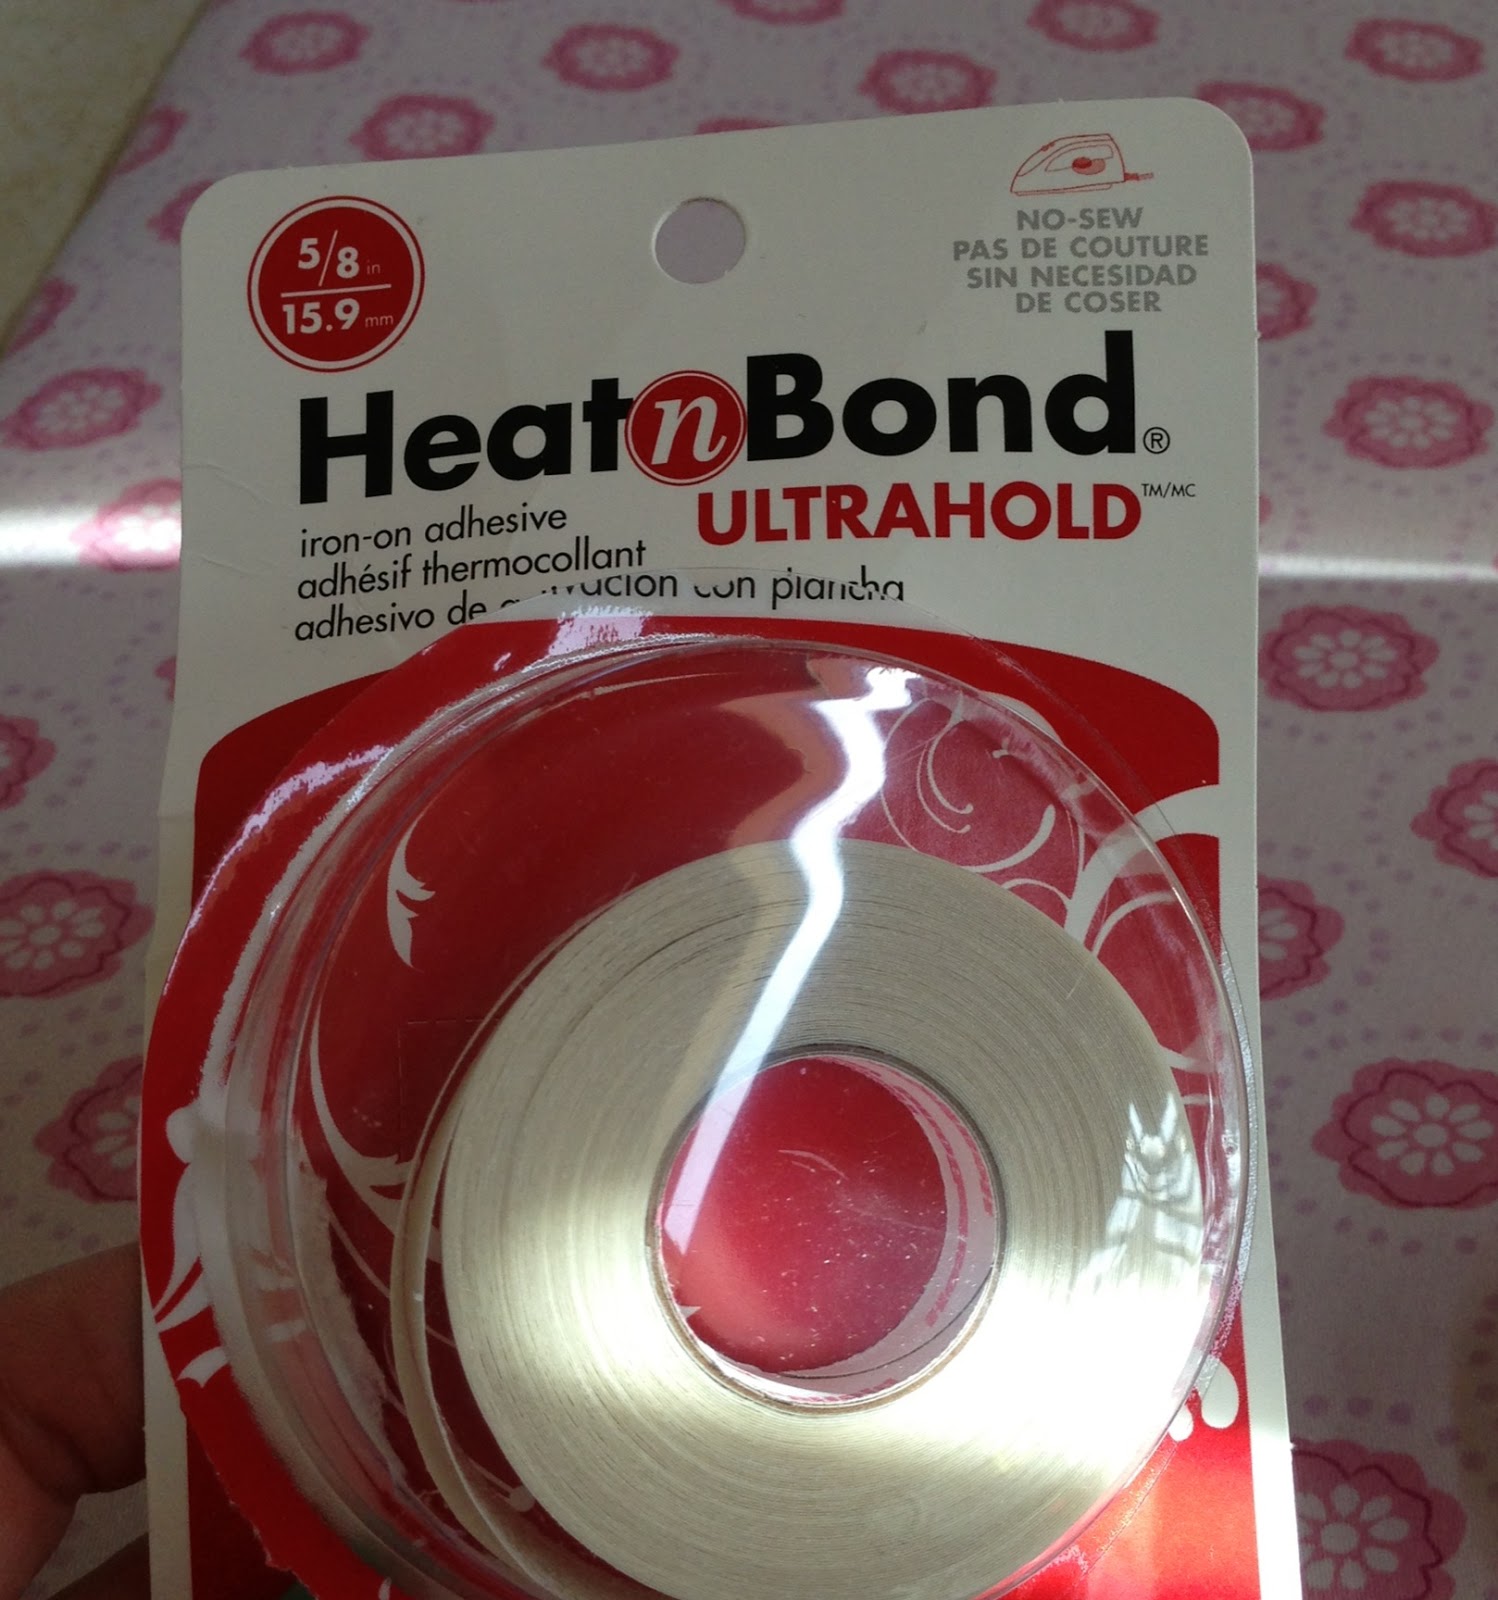
I picked up this sheet of Heat n Bond Ultrahold for around $3 at Michael's. (By the way, I don't ever go to Michael's without at least a 40% off coupon.  They always have them in the ad, online, or on your last receipt.)
I pinned the felt to the Heat and Bond and cut out the heart shapes.

Next just follow the instructions on the Heat and Bond or whatever product you use.  I just peeled off the white paper and ironed the heart onto the sweater. Easy peasy!
You can just leave it like this because the Heat n Bond secures the patch.  But I decided to add some stitches for an extra cuteness factor.  I used embroidery floss.  Each piece of floss has 6 threads,  I separated it in half and used 3 threads.
I'm not an experienced sewer so this was the most challenging part for me, but still very simple.  It probably took me 5 minutes to sew them on while watching playoff football with my husband.
 
Why I love this method:
1) It's so EASY!
2) I can wash the clothing and not have to worry about it getting ruined.
3) I didn't injure myself.
4) The possibilities are endless.  You can use the felt or fabric along with the Heat n Bond to create any kind of applique!


Wednesday, January 9, 2013

Lemon Ricotta Pancakes... Kid Approved!

Naomi is somewhat of a pancake connoisseur.  She likes restaurant pancakes.  So when I made these honey cloud pancakes she wouldn't touch them.   Or when I tried these brown butter and butterscotch pancakes she took one bite then turned up her nose. (The rest of us normal people loved both of these recipes by the way.)  Here is my go-to pancake recipe that turns out just like restaurant pancakes thanks to the secret ingredient and also my favorite cleaning product: vinegar!  Naomi says they taste like cupcakes and marshmallows.  Haha.

I've been wanting to try lemon ricotta pancakes with the leftover ricotta I had in the fridge along with the lemons from my grandma's tree.  And I happened to get blackberries at Costco yesterday so I figured that would make the perfect accompaniment. I used this recipe for the pancakes.  For the blackberry sauce I just dumped about a pound of blackberries into a saucepan along with the juice of the lemon I had zested for the pancakes and 1/4 cup of sugar and let it simmer while I cooked the pancakes. The pancakes were so fluffy, and Judah started chowing down right away.  But he'll eat any kind of pancake so I waited for Naomi's reaction.... The verdict: "Yummy!" (Although she preferred to eat them without the blackberry sauce.)

I was going to post a pic of my stack of pancakes, but my phone died before I had the chance to take one.  By the time it charged enough to turn on I was halfway through the melt-in-your-mouth deliciousness.  Behold, my half eaten pancakes:

Tuesday, January 8, 2013

Les Mis, Makeup, Cleaning w/ Vinegar, and Starting a blog!

My mind is still reeling after seeing Les Miserables last night with my girlfriends, but I'm not going to write a review other than to say that it was amazing in all aspects.

Me, Nat, Cristina <3


Lately I've been into trying out new things with makeup.  I bought myself an e.l.f. eyeshadow pallet for $5 around Christmas and have been experimenting with it. (Such a good deal I bought a couple as Christmas presents also!)  Have you seen those websites that list makeup dupes for high end makeup?  I just discovered the amazingness that is drugstore makeup! I read on a few sites that Revlon Colorstay foundation is a dupe for MAC foundation and have been wanting to try it.  Last night my hubs took the kiddos to CVS to get firewood and popcorn while I was at the movies.  This morning I was pleasantly surprised to find the receipt along with $1 extra care bucks and a coupon for $3/$10 of Revlon!  The Colorstay makeup was overpriced, but the new "Nearly Naked" line was on sale for $6.99 with $2 ecb!  Great deal! So I grabbed that in "Fresh Beige" and a mint green Revlon polish (Eclectic).  With my coupons and ecb I paid $9 something and got $4 ecb back!

You can tell I've been using these e.l.f. eyeshadows just about EVERY day since I bought them!


My girlfriend, Jill, who first introduced me to couponing a couple years back, asked if Naomi could come over for a playdate today.  Jill's one of the few people I completely trust with my kids, and I can drop my 4 yo off with her without a second thought. We both needed to go to Costco so we met there, shopped, and ate.  (Three dollars to feed my kids and myself lunch is pretty much unbeatable.) I took Judah home to nap and dreamed of watching Downton Abbey and painting my nails mint green while he slept.  Instead I unloaded the car, including the 2 gallons of vinegar I bought at Costco for less than $4 and got to cleaning.  I knew I wanted to try cleaning the toilets with vinegar and baking soda so I started there.  I dumped a bunch of vinegar into each toilet and went back to the kitchen.  I needed to clean the hard water stains on both shower doors so I microwaved some vinegar.  I opened the microwave to see Pete had evidently microwaved his chili leftovers last night.  So I used the warm vinegar to sponge down the microwave until it was sparkling again.  Then I loaded and started the dishwasher.  I went back to the bathrooms and cleaned them.  I sprinkled baking soda onto the toilet brush and scrubbed each toilet while it sizzled.  It was actually kinda fun... And it worked great!  I used a sponge soaked in warm vinegar to wipe off the hard water stains... so easy!  Once the bathrooms were done I mopped all the floors with yet more vinegar.  I LOVE cleaning with vinegar! Not only is it non-toxic and cheap, but it works better than anything else!  I know the smell is not the most pleasant, but I'm used to it.  If you open the windows or light a candle the smell should be gone in no time.
No more hard water spots here!


I still had time to spare before Judah would wake up so again I contemplated TV and wet nails or something more productive.  I settled for starting a blog.  Jill had said she'd be interested in reading if I started a blog so at least I know I'm interesting to one person.  Ha!  But even if no one reads it I'll still have fun writing it.  So here it is... My first post!